from USD $15.00 per image
VIRTUAL STAGING
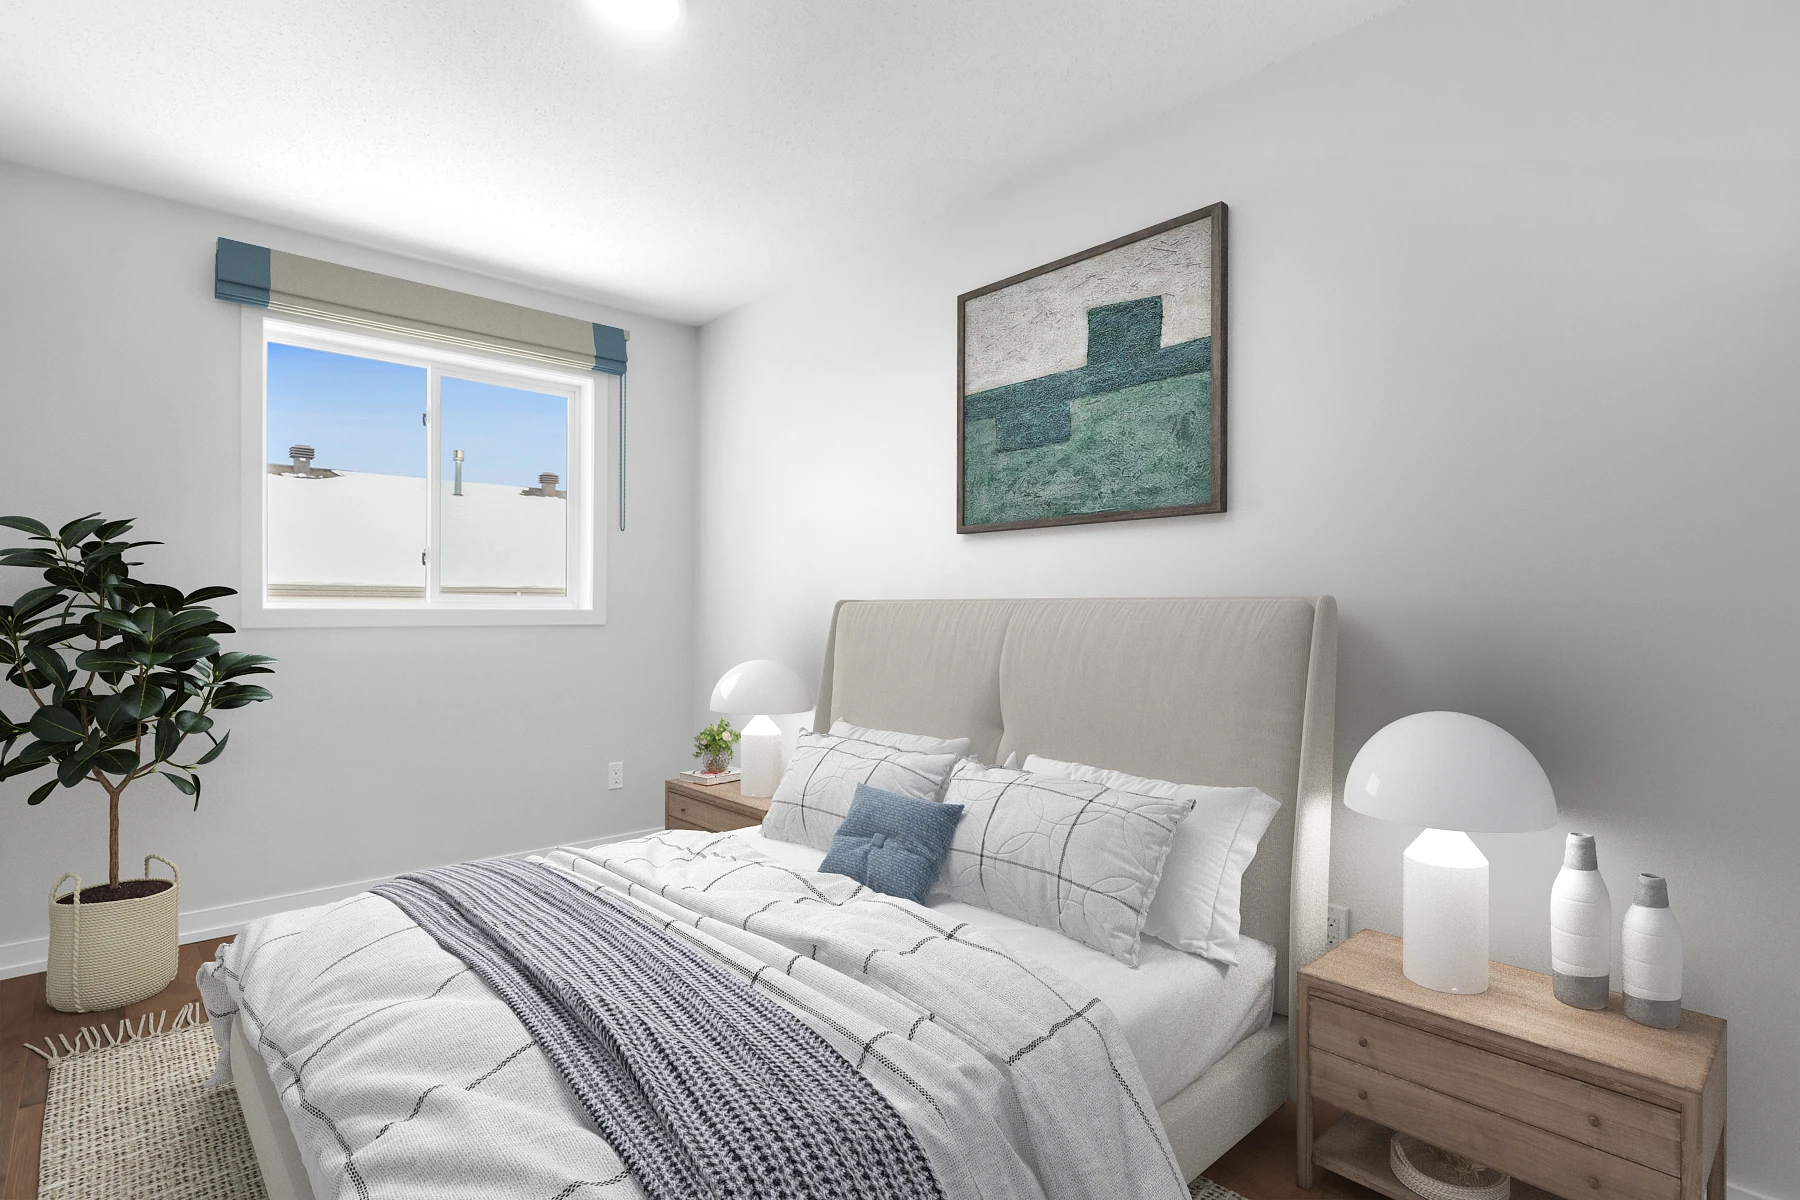
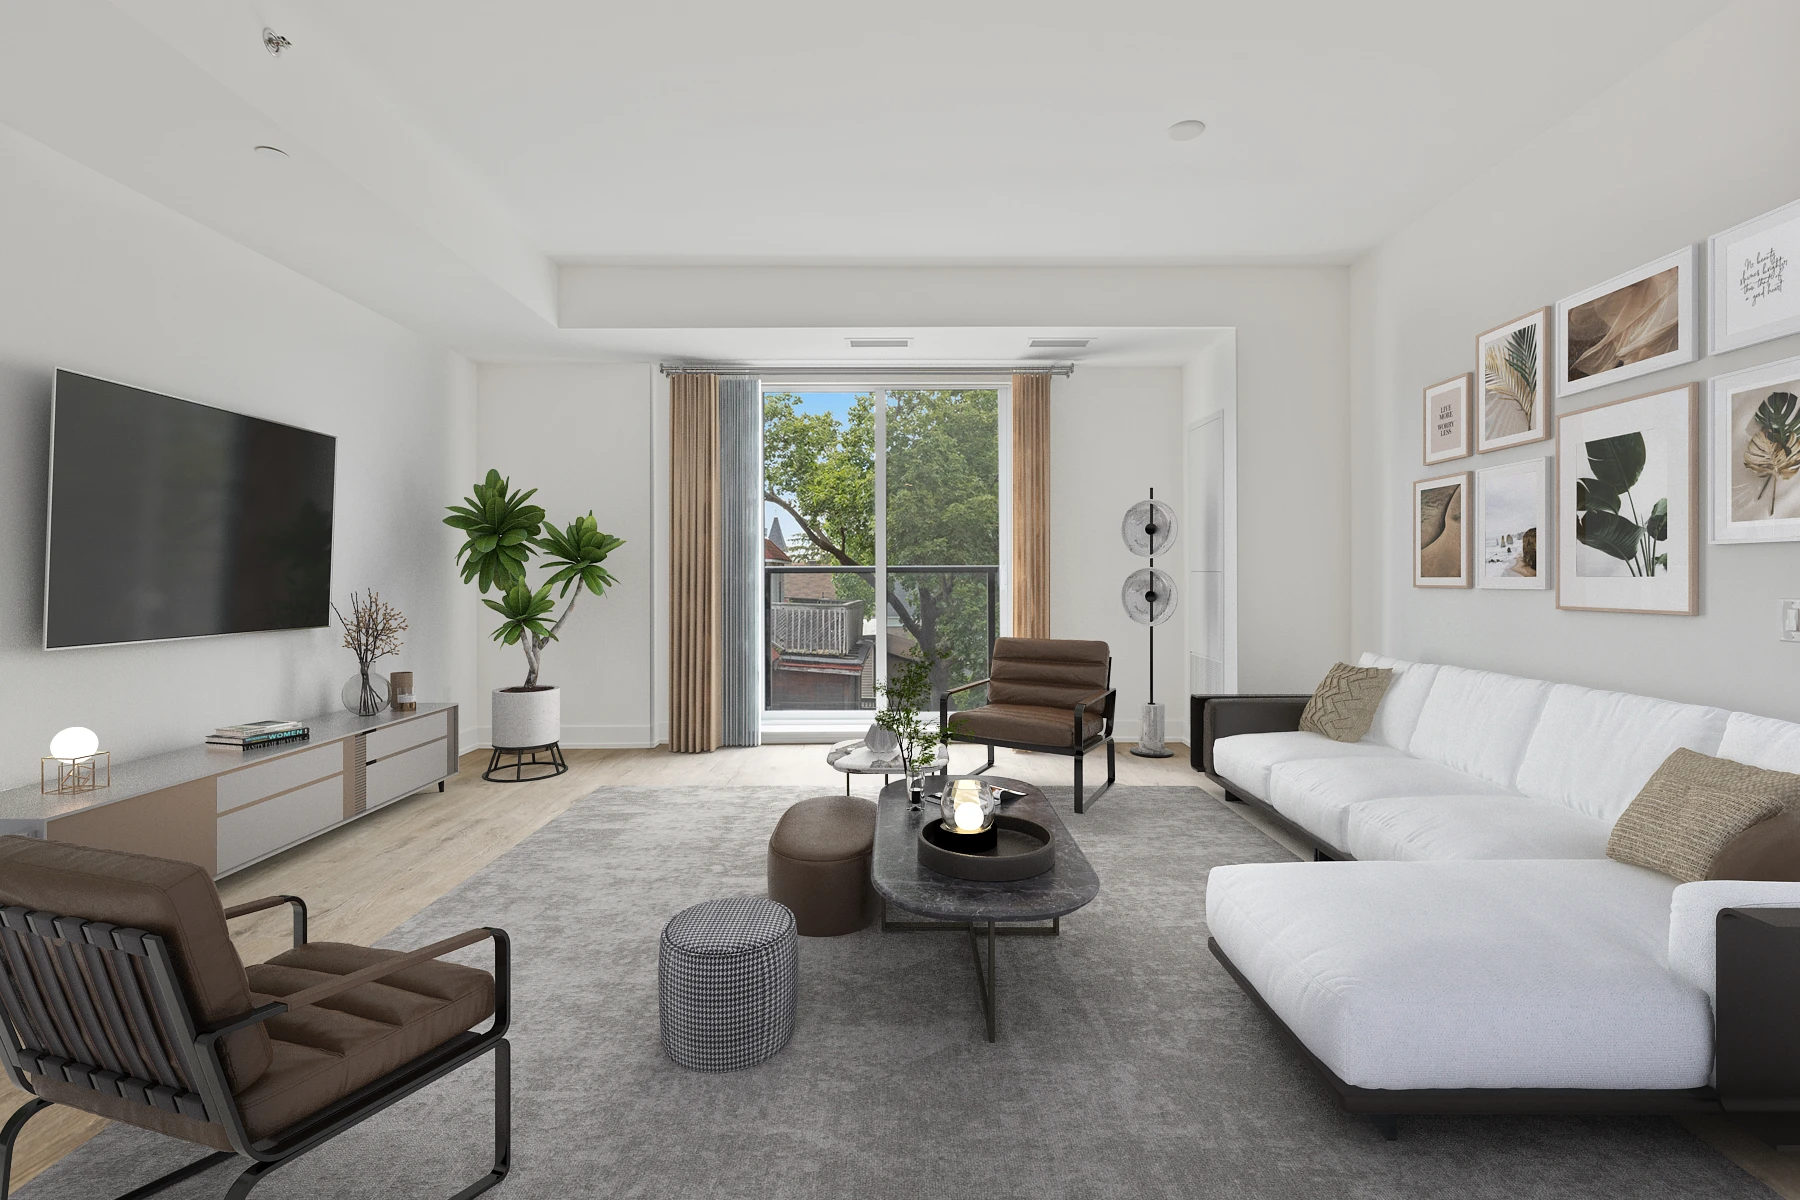
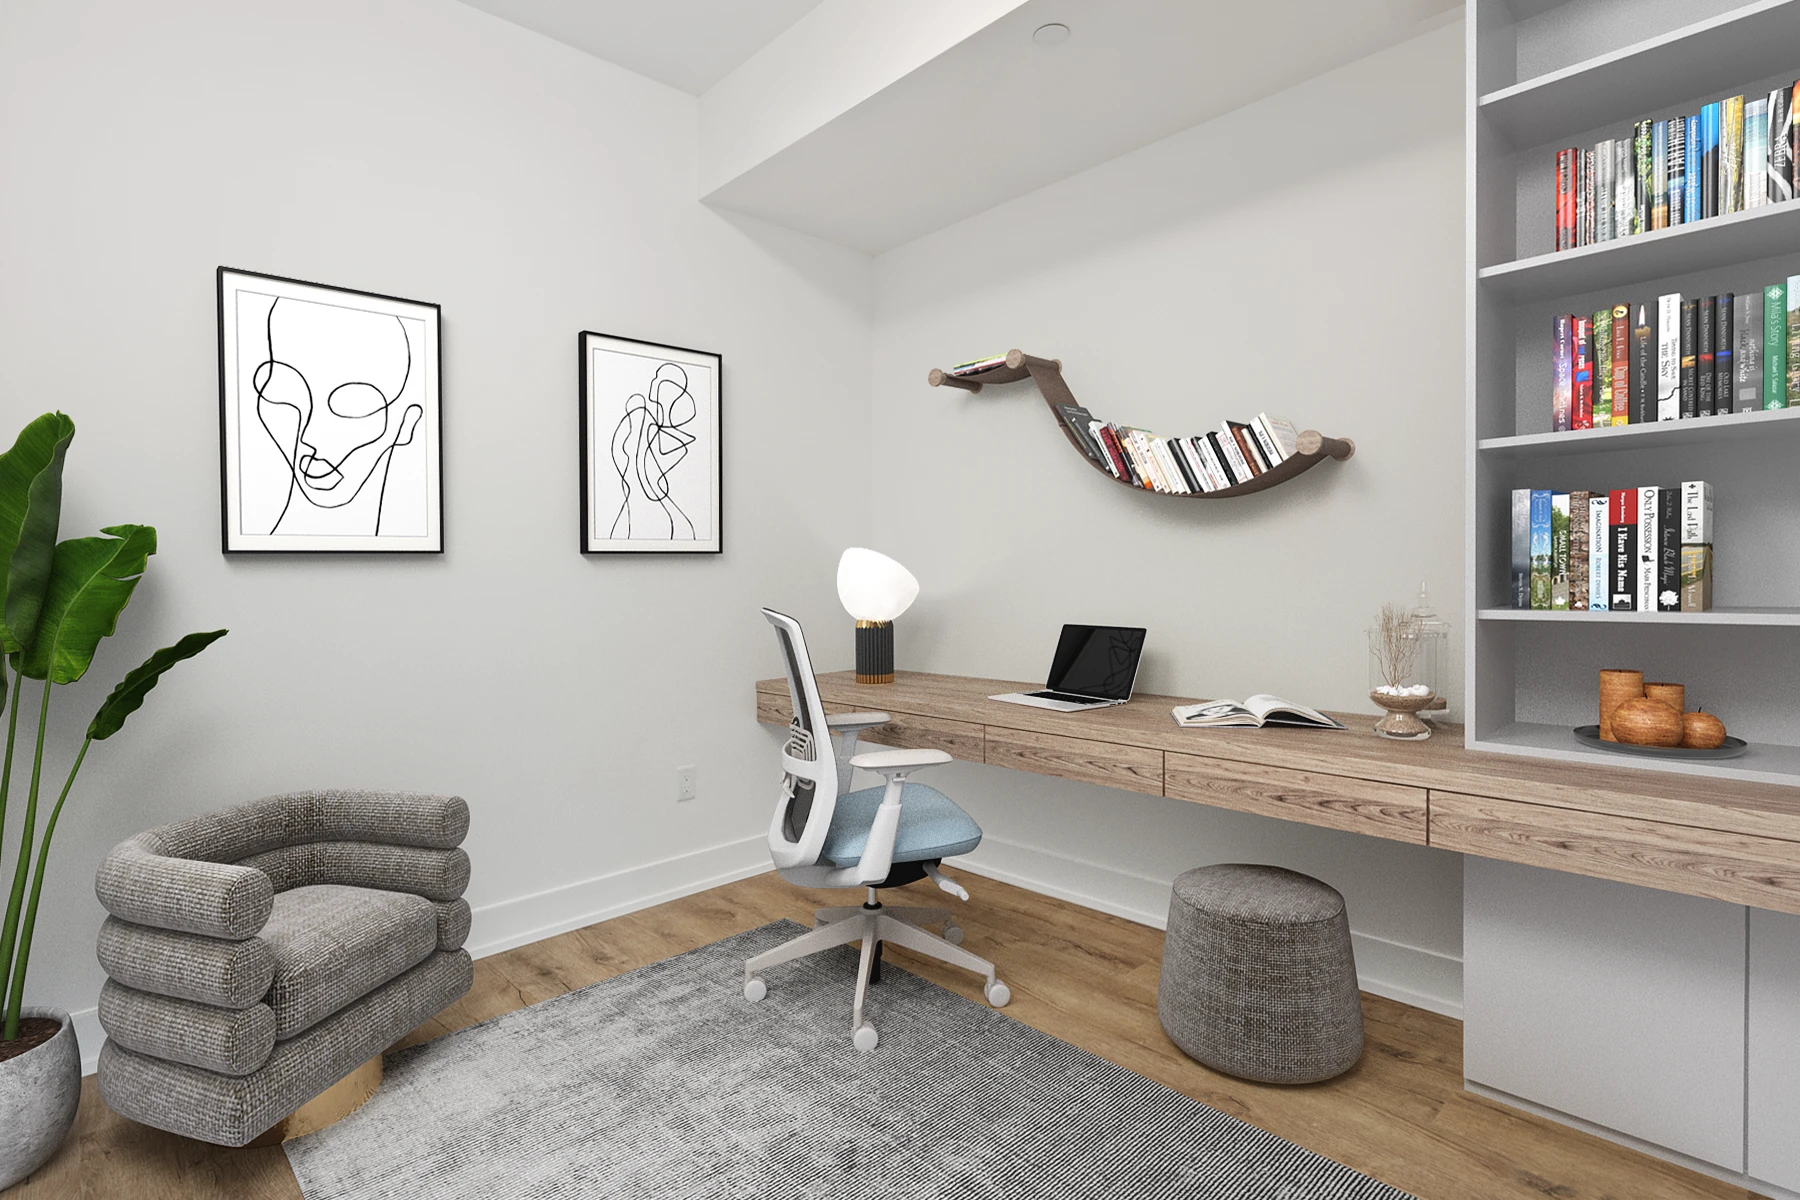
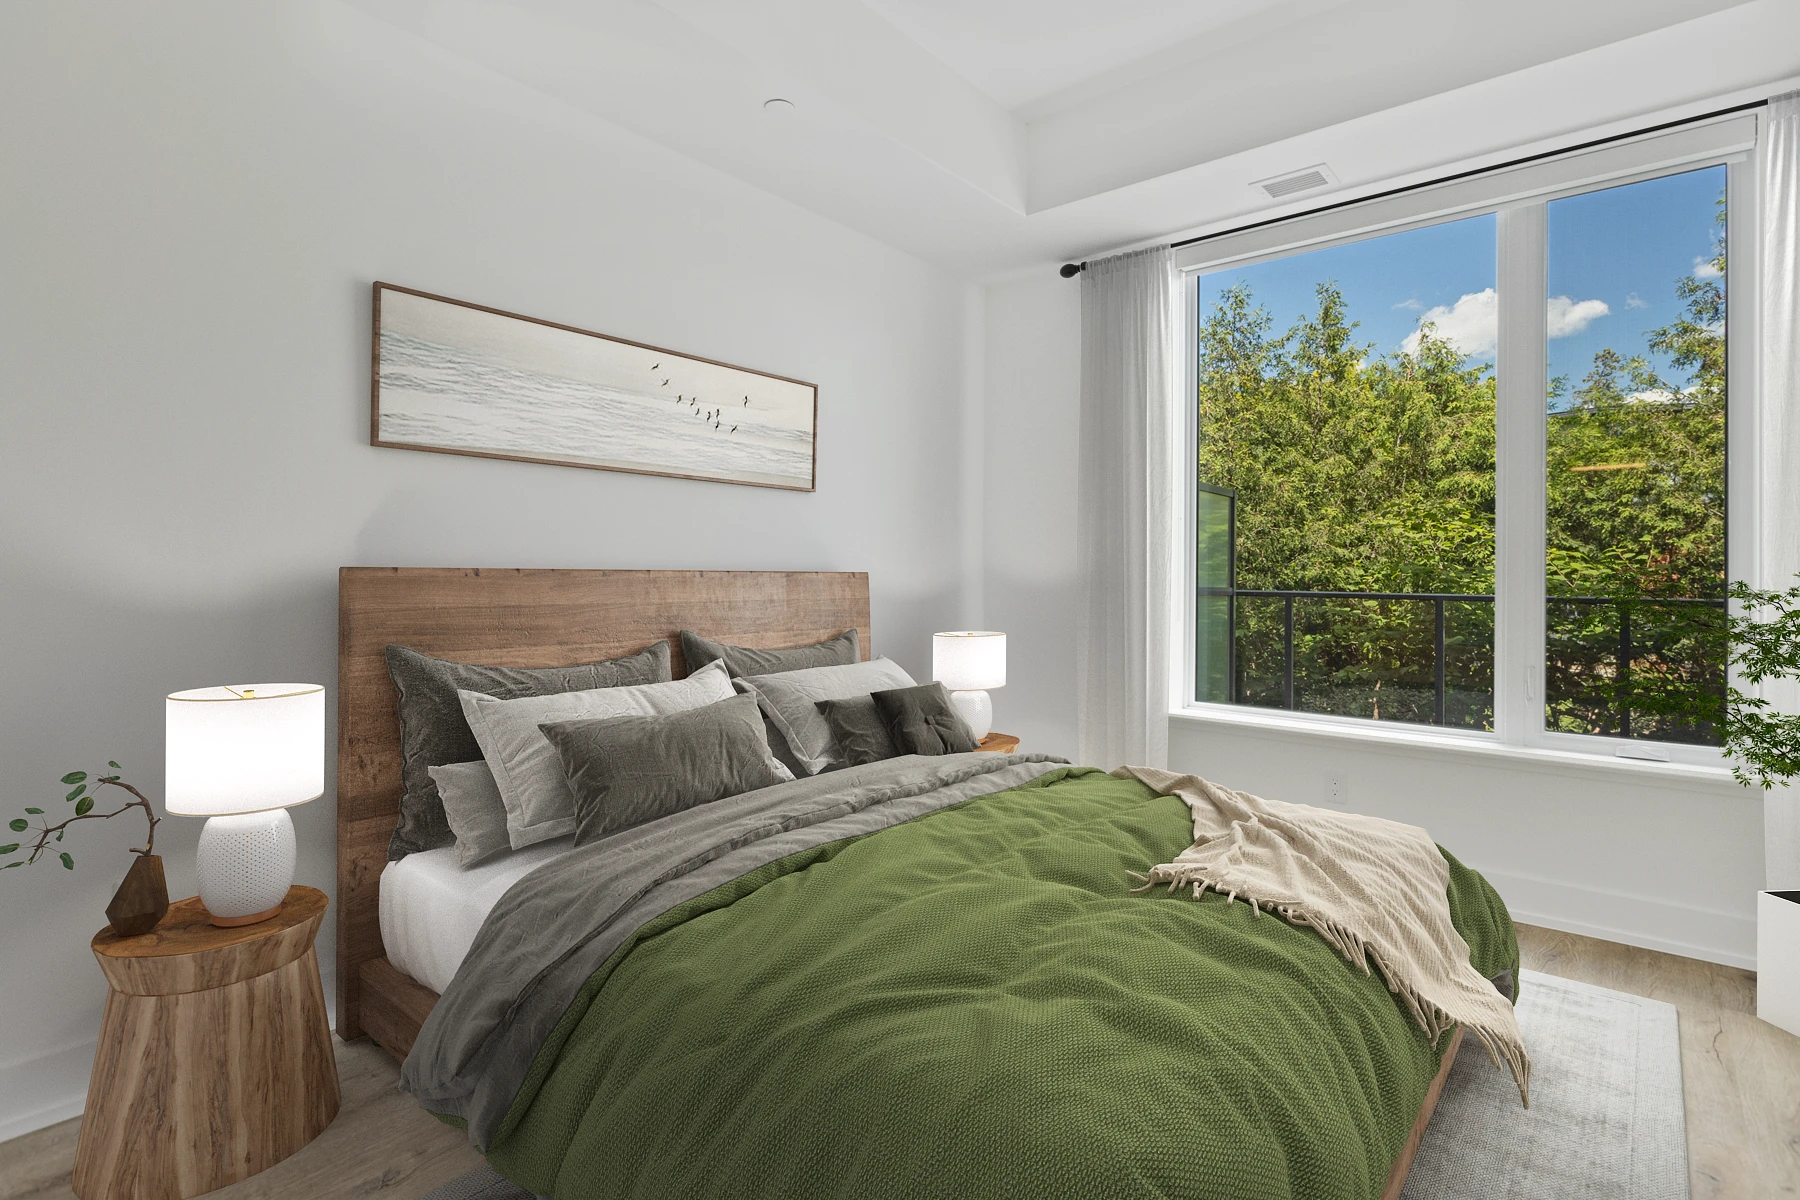
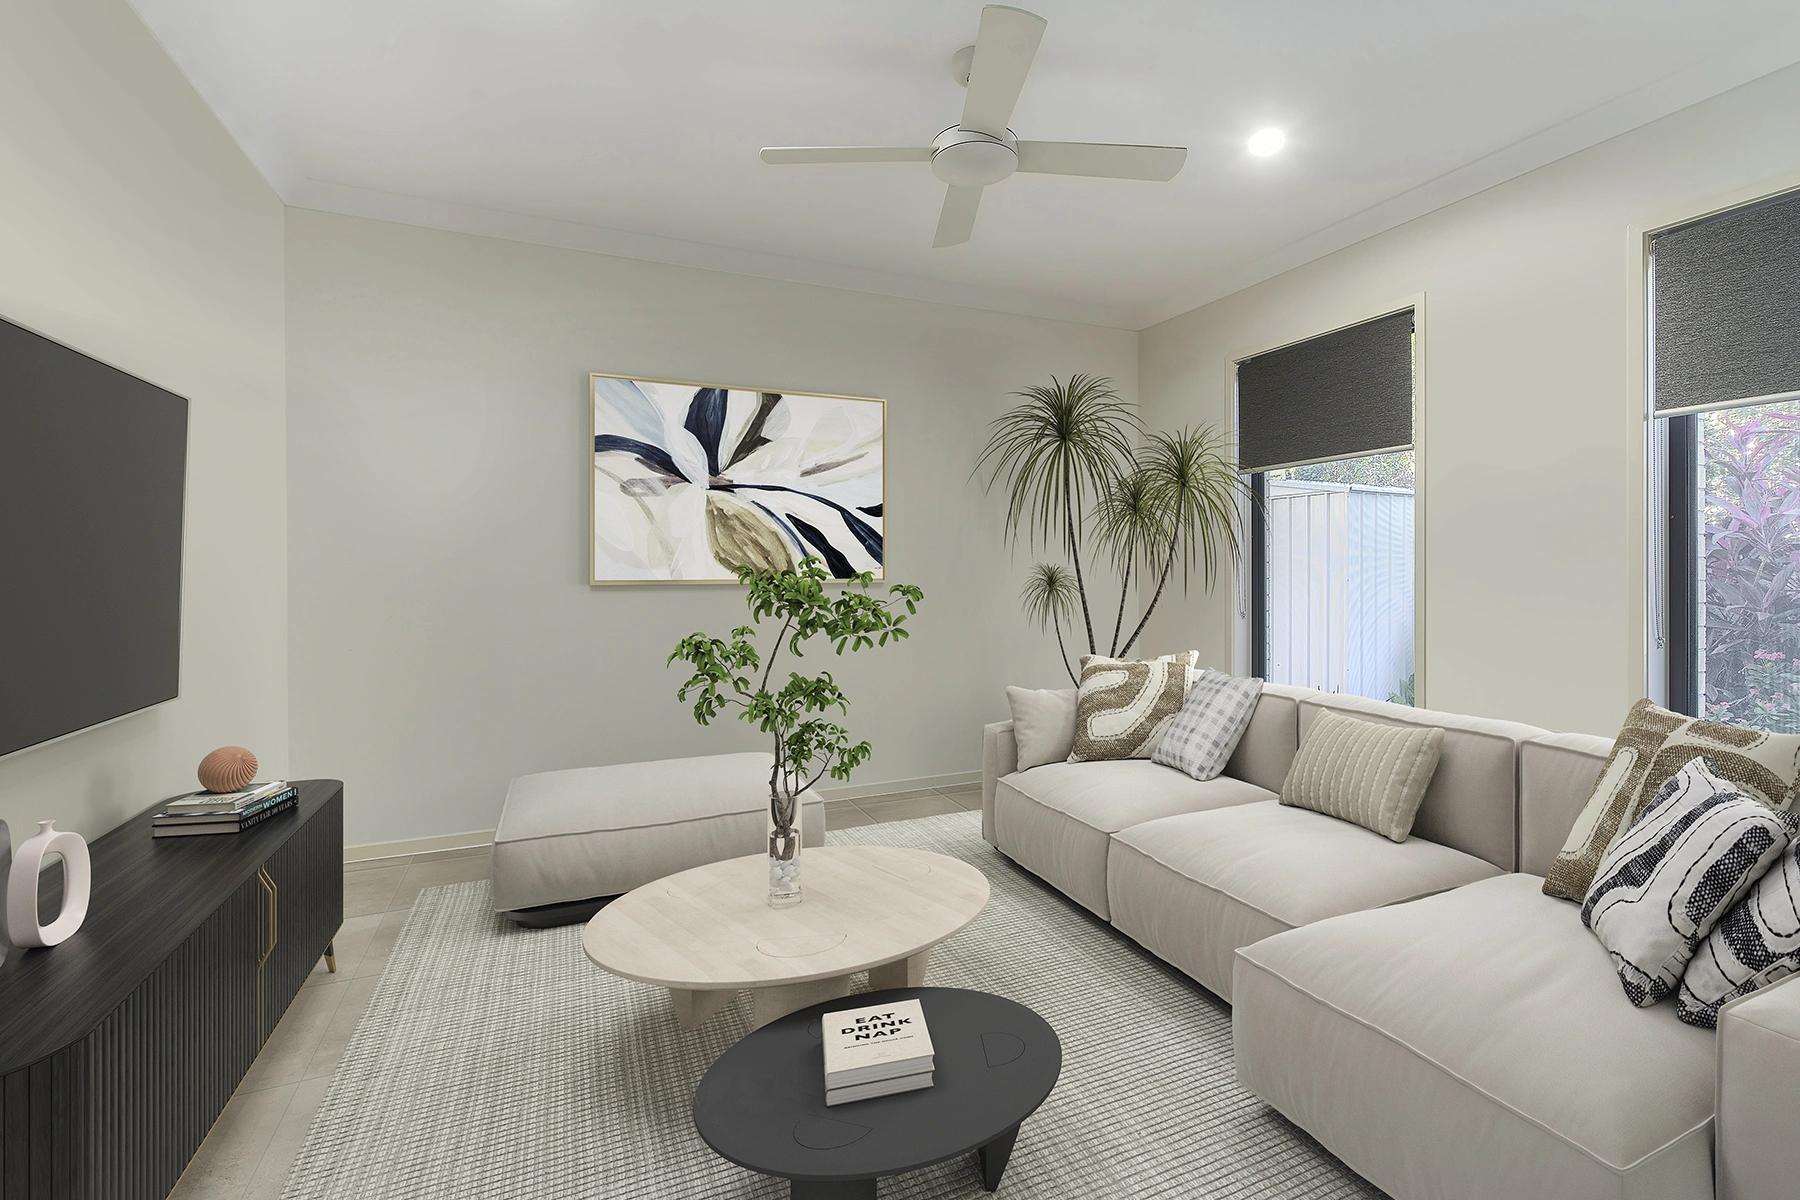
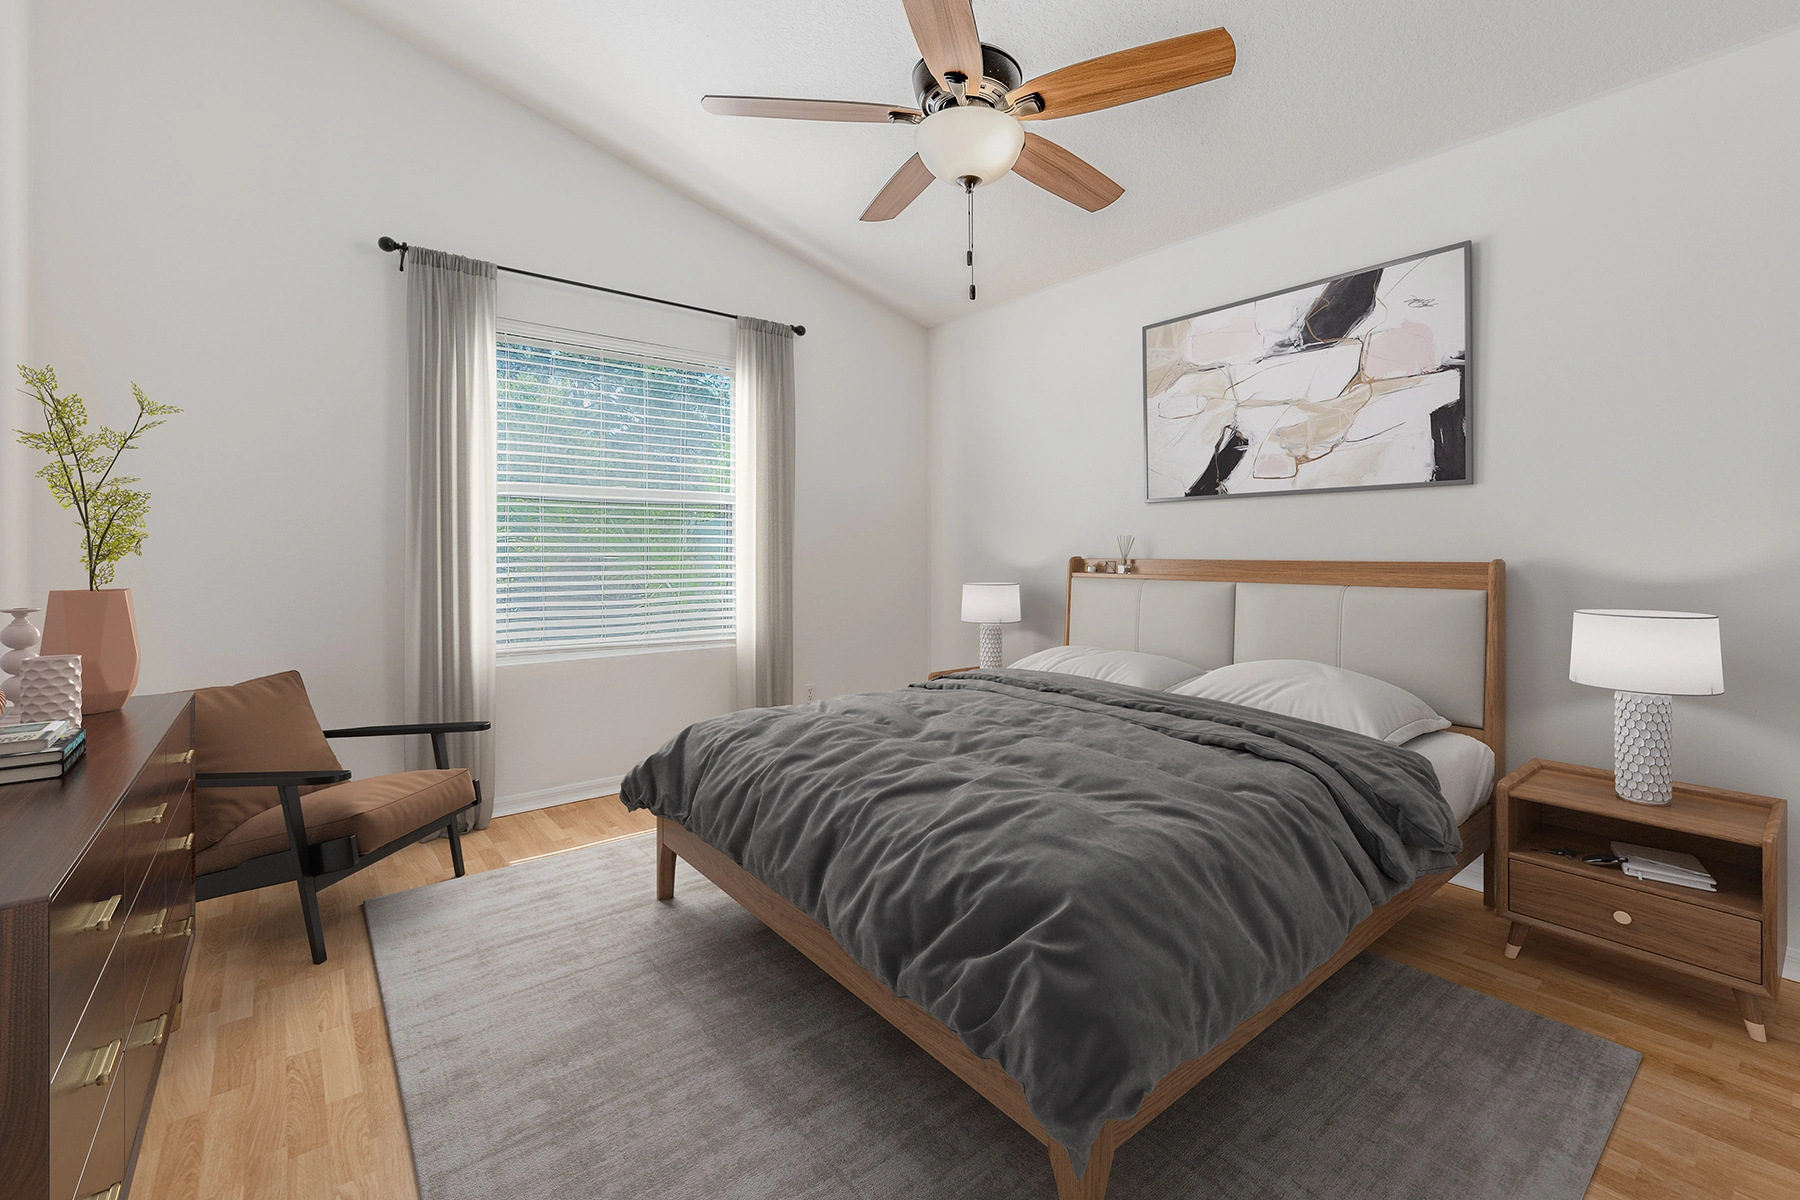
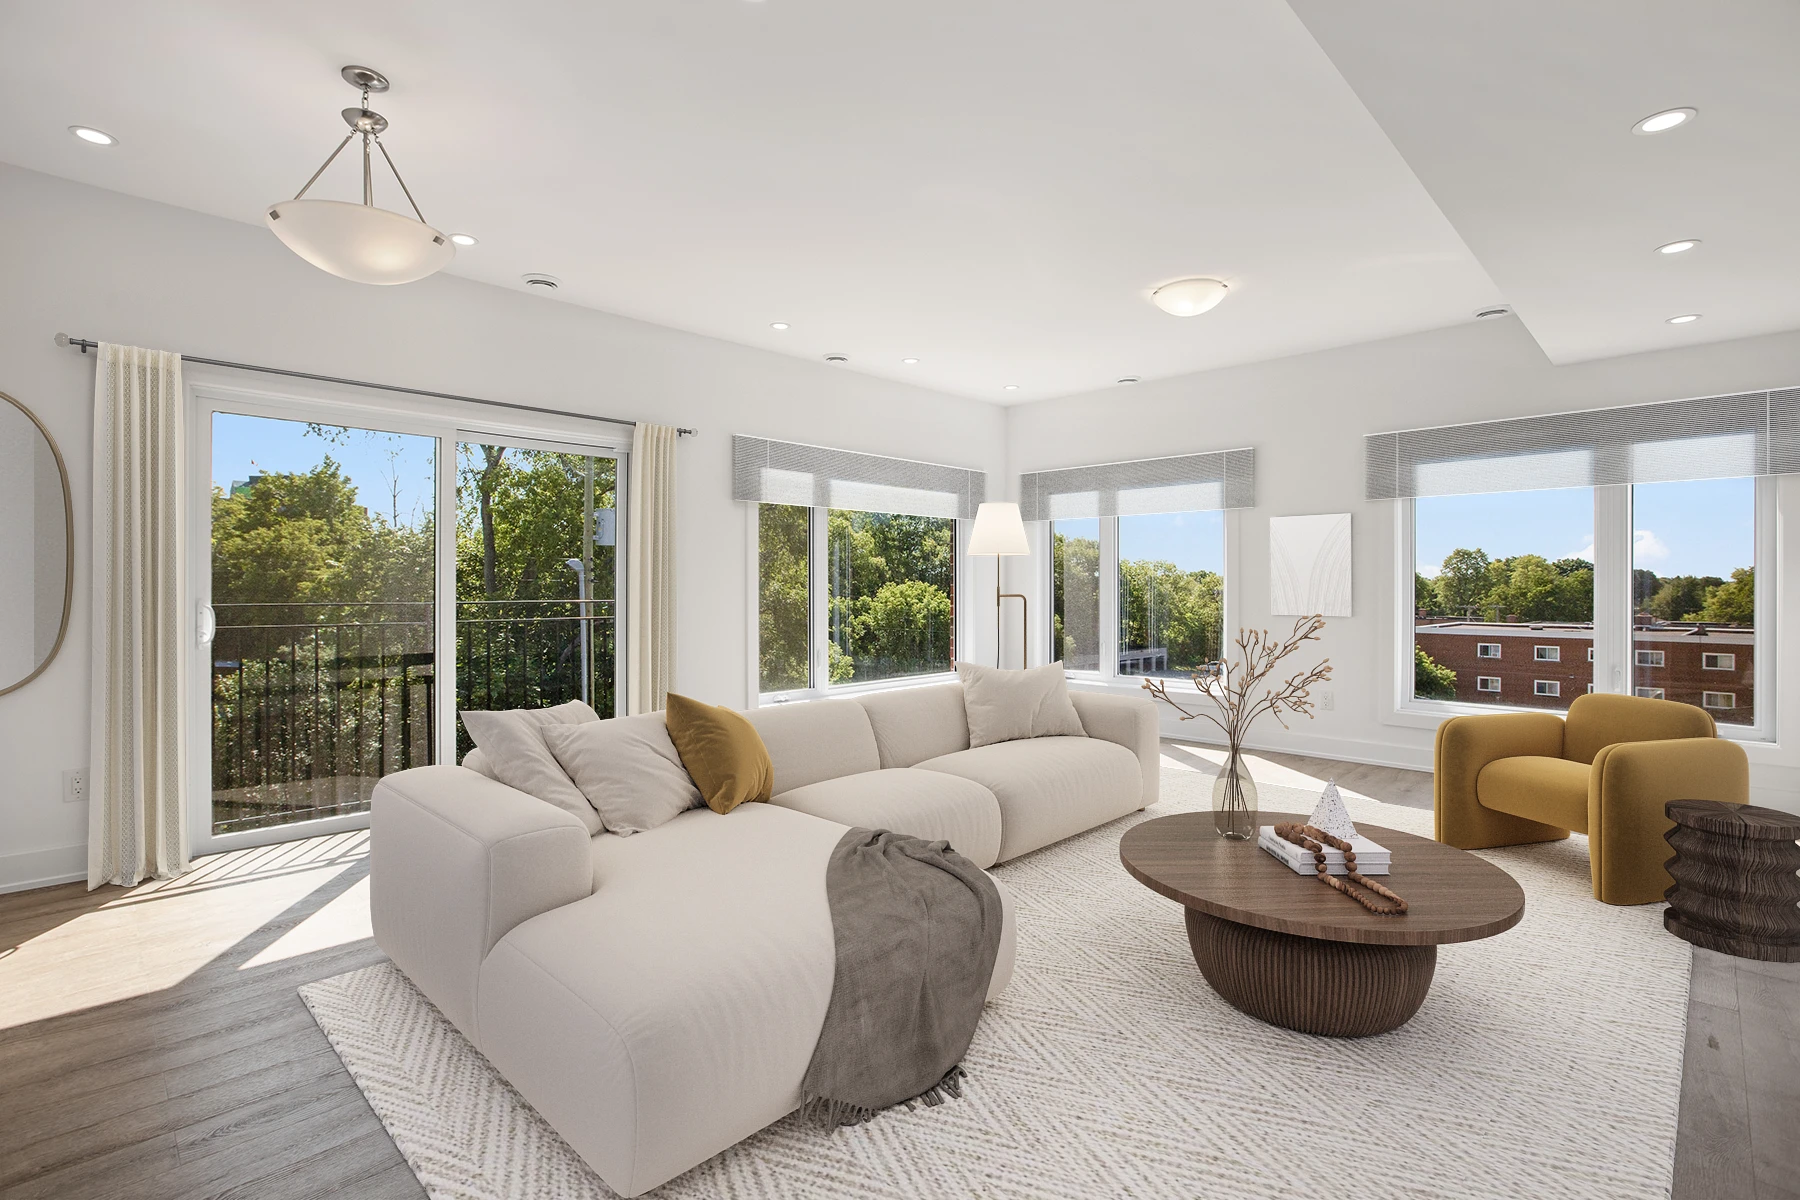
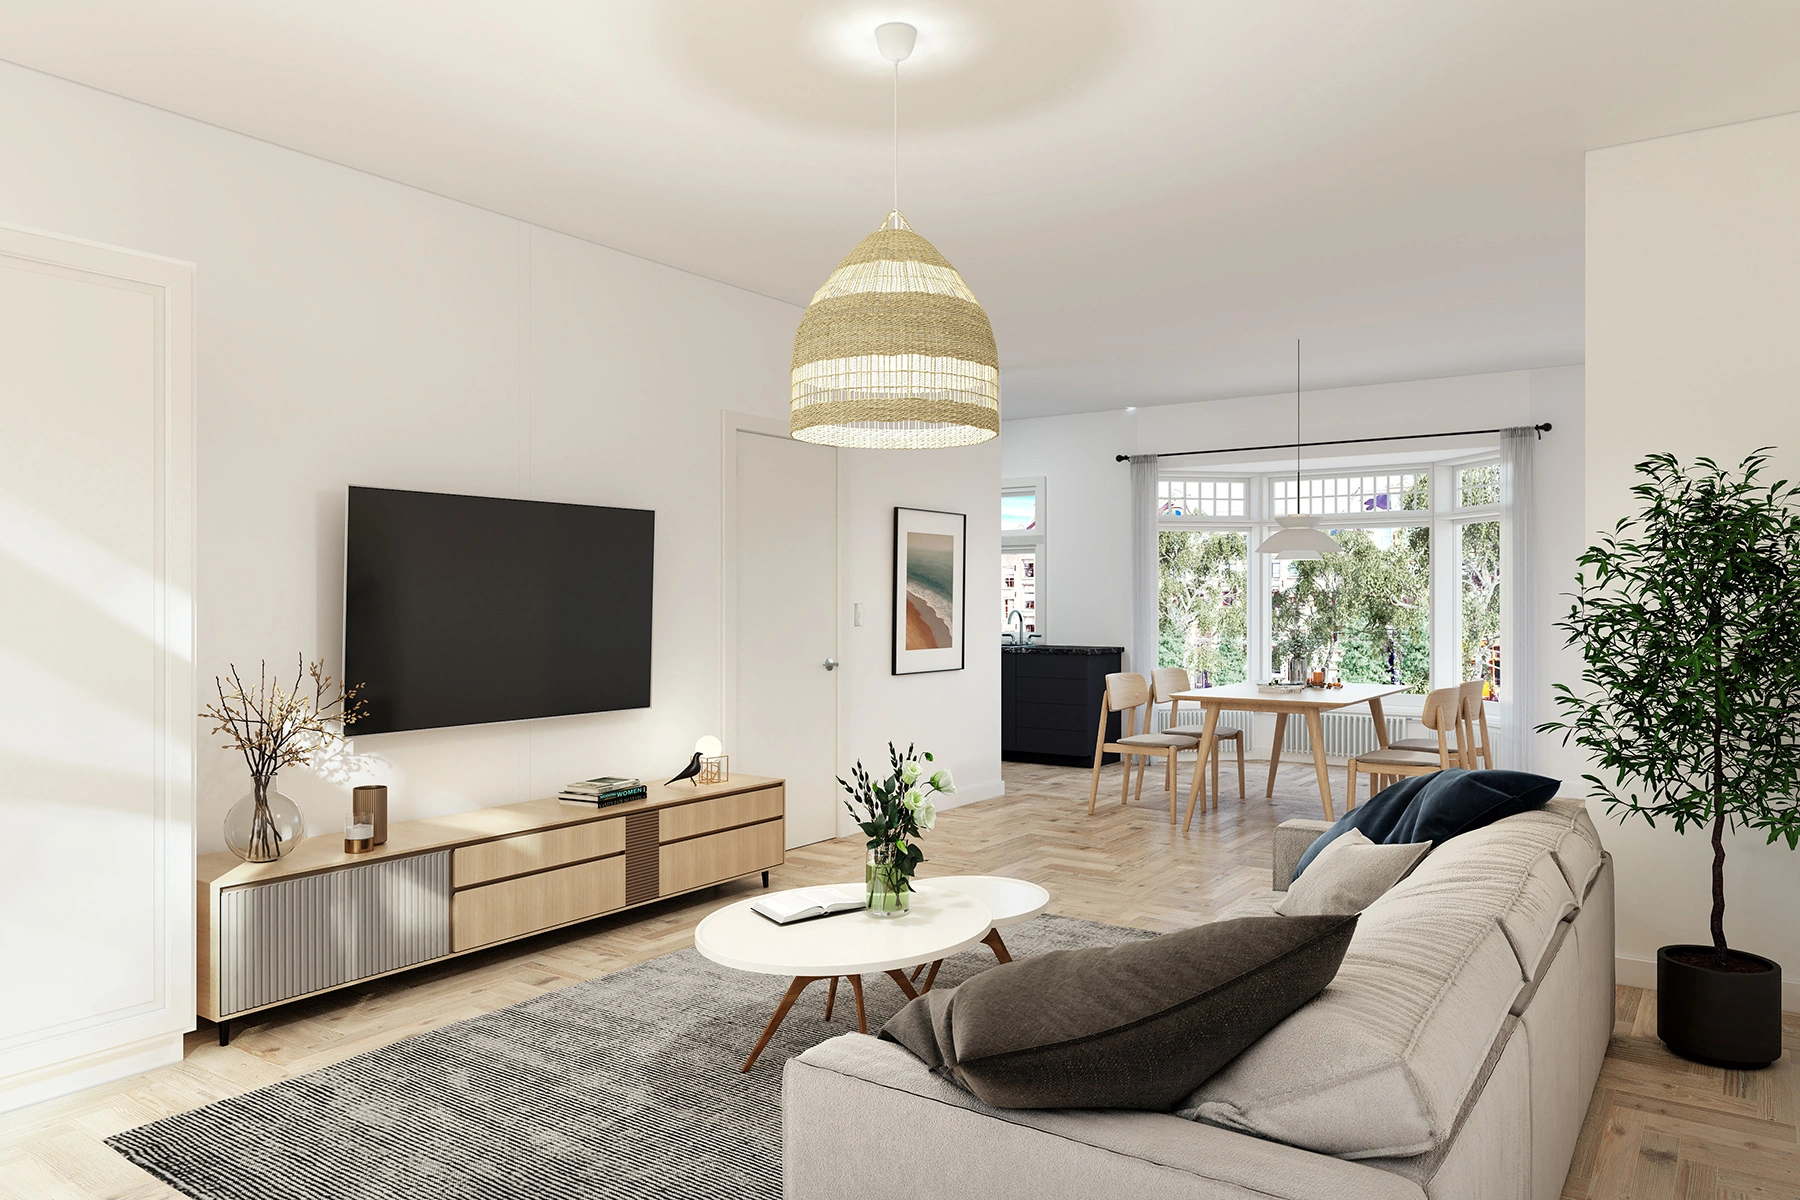
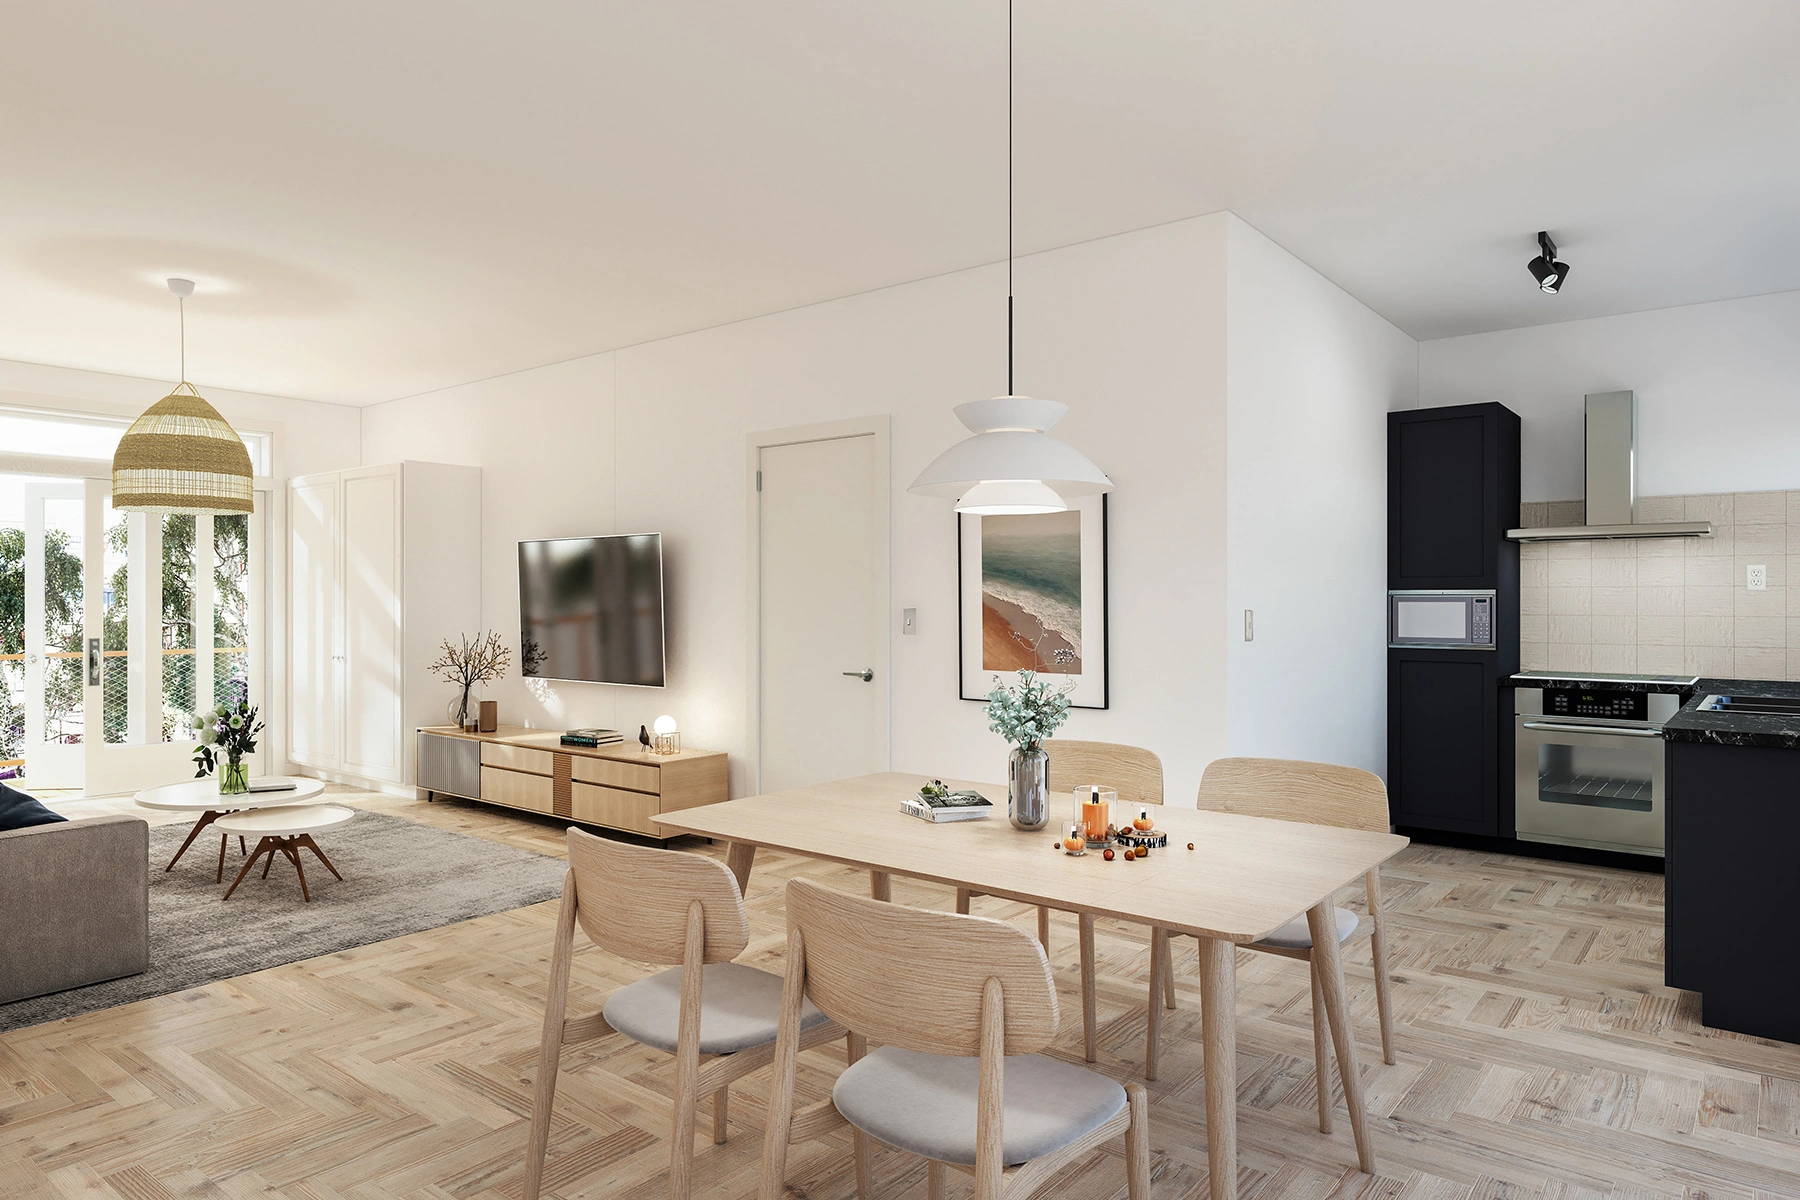
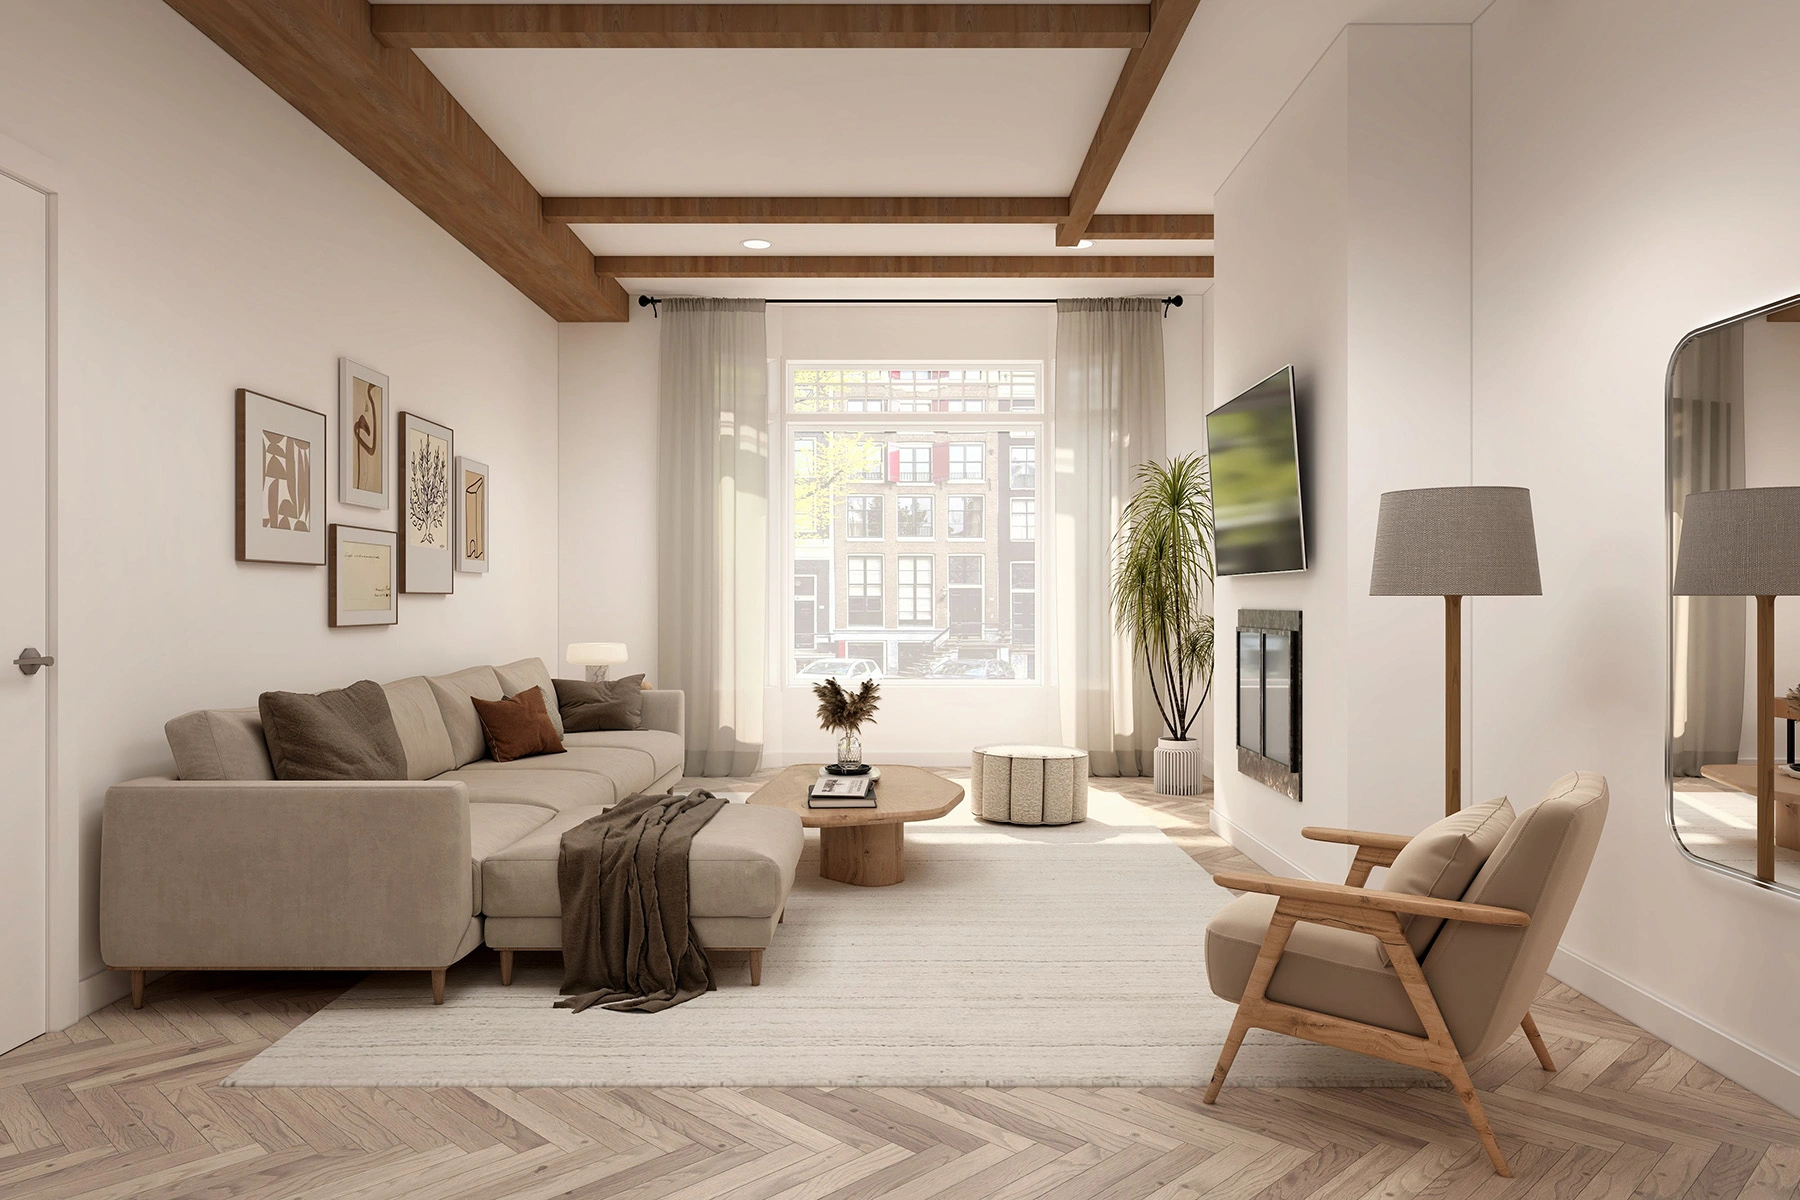
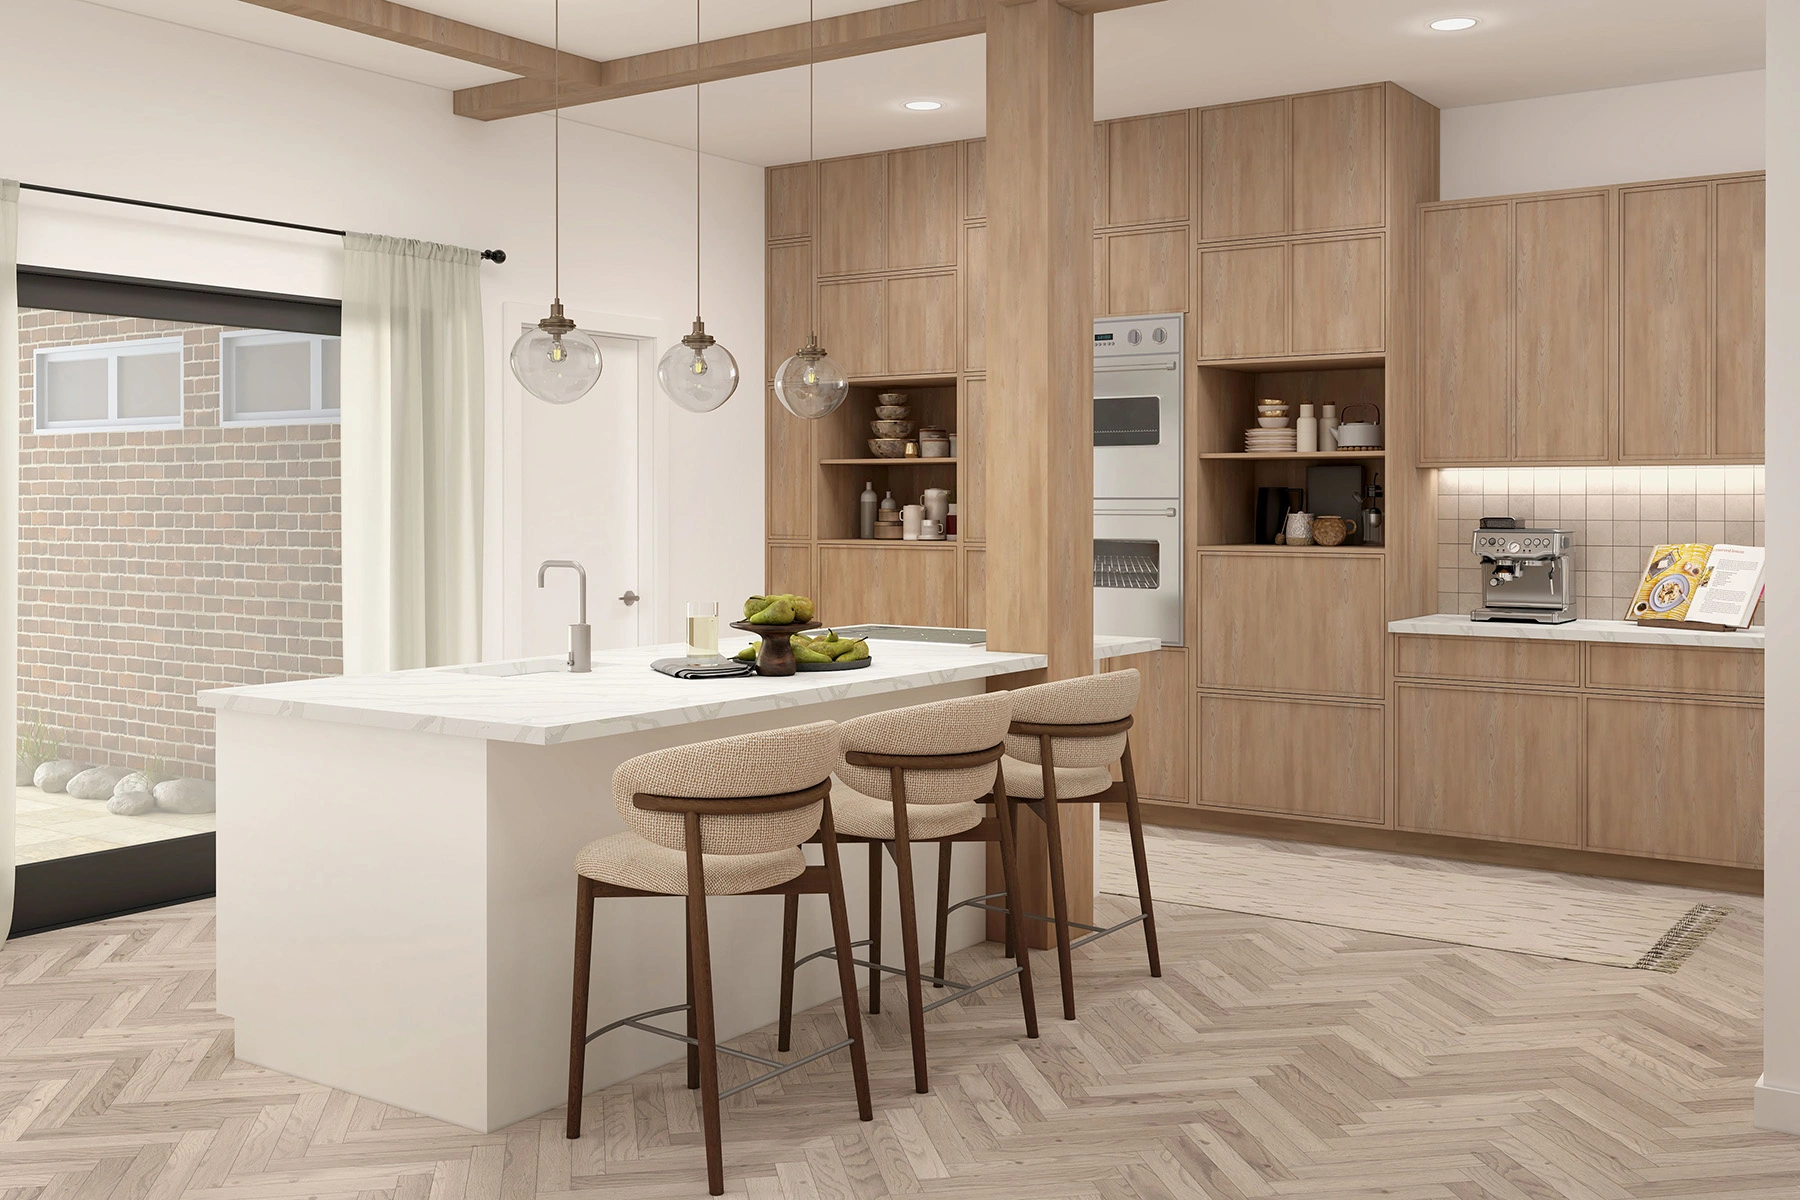
Transform Your Empty Space into a Stunning Home with our Virtual Staging Services
Virtual staging is the process of digitally furnishing and decorating empty or minimally furnished spaces to create realistic and appealing interiors. This technique helps potential buyers or renters visualize the property’s potential as a fully furnished home.
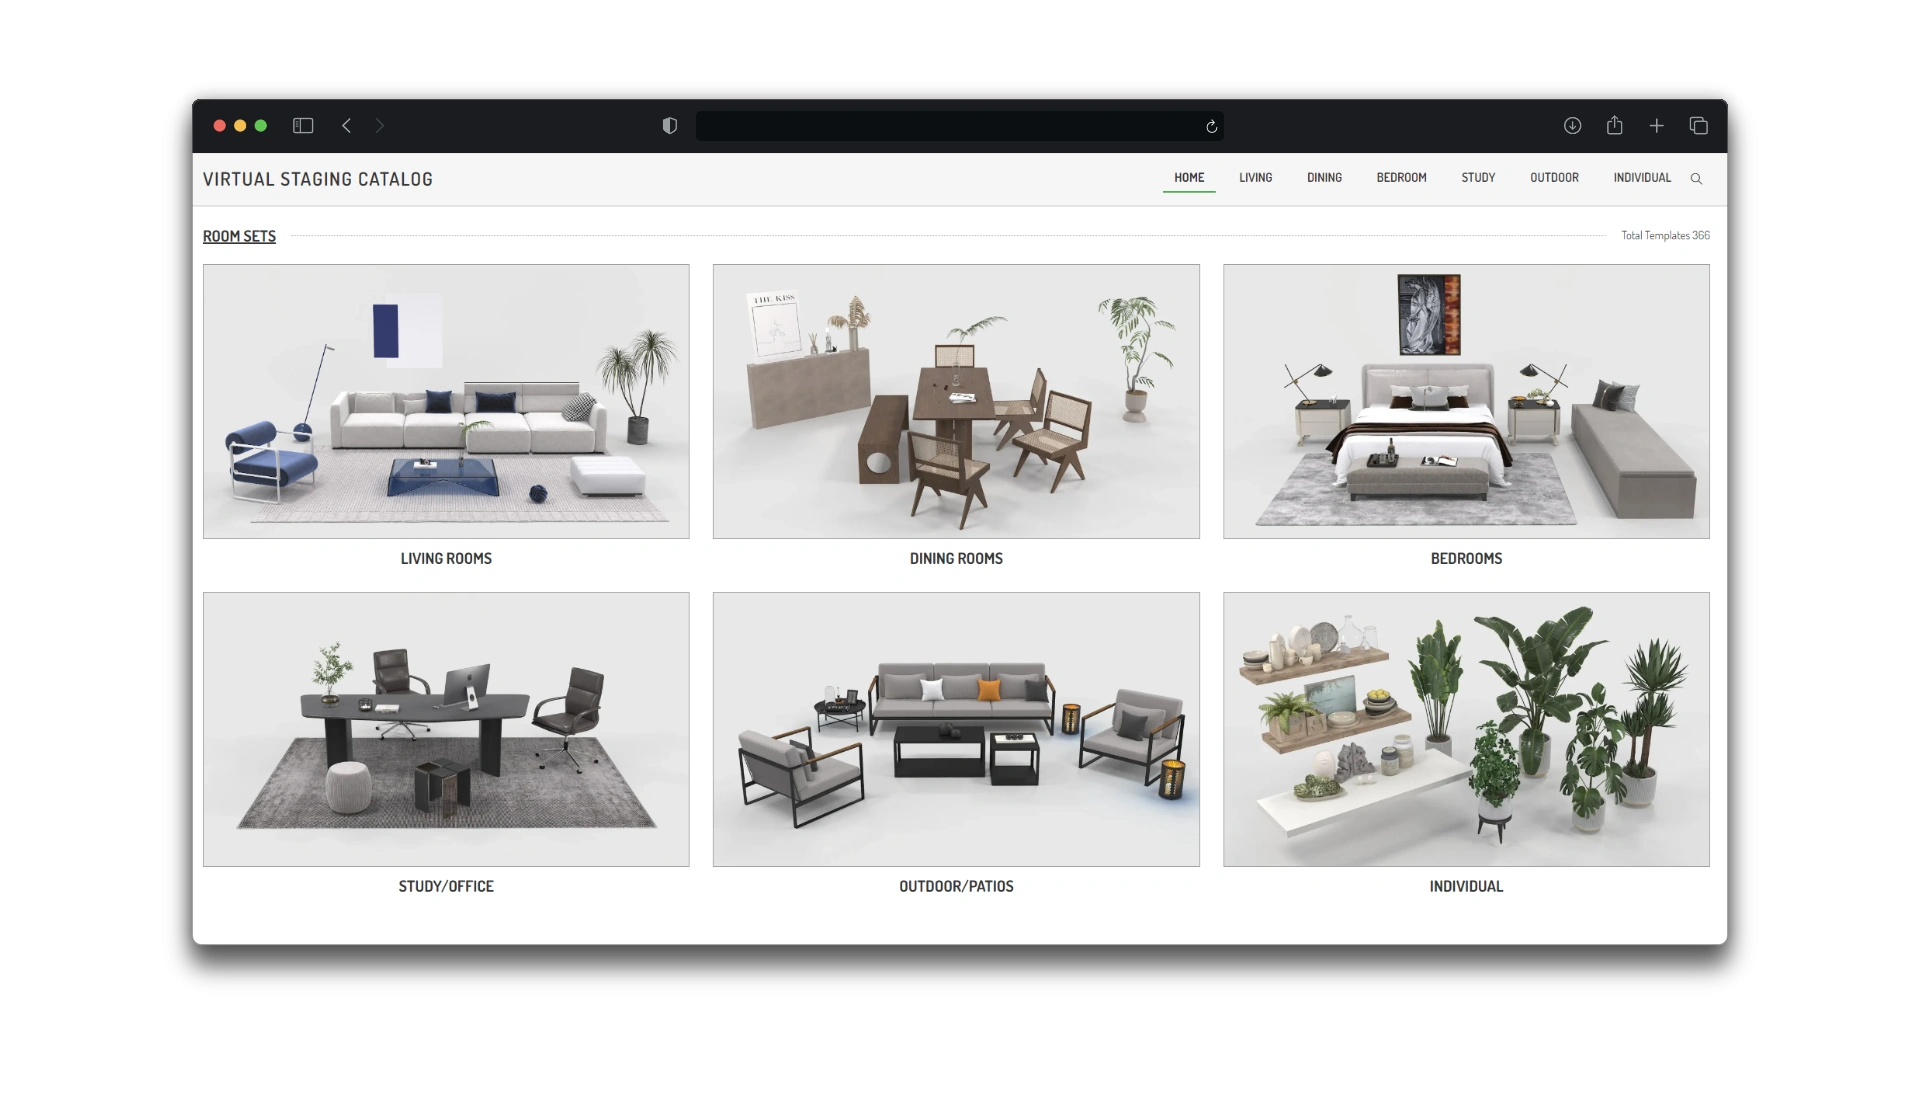
Compared to traditional staging, which involves physically placing furniture and decor, virtual staging is a more cost-effective and efficient solution. It offers a wide range of design options, allowing real estate professionals and homeowners to customize the look to suit specific needs and preferences.
Order Nowview our furniture catalog >>Compared to traditional staging, which involves physically placing furniture and decor, virtual staging is a more cost-effective and efficient solution. It offers a wide range of design options, allowing real estate professionals and homeowners to customize the look to suit specific needs and preferences.
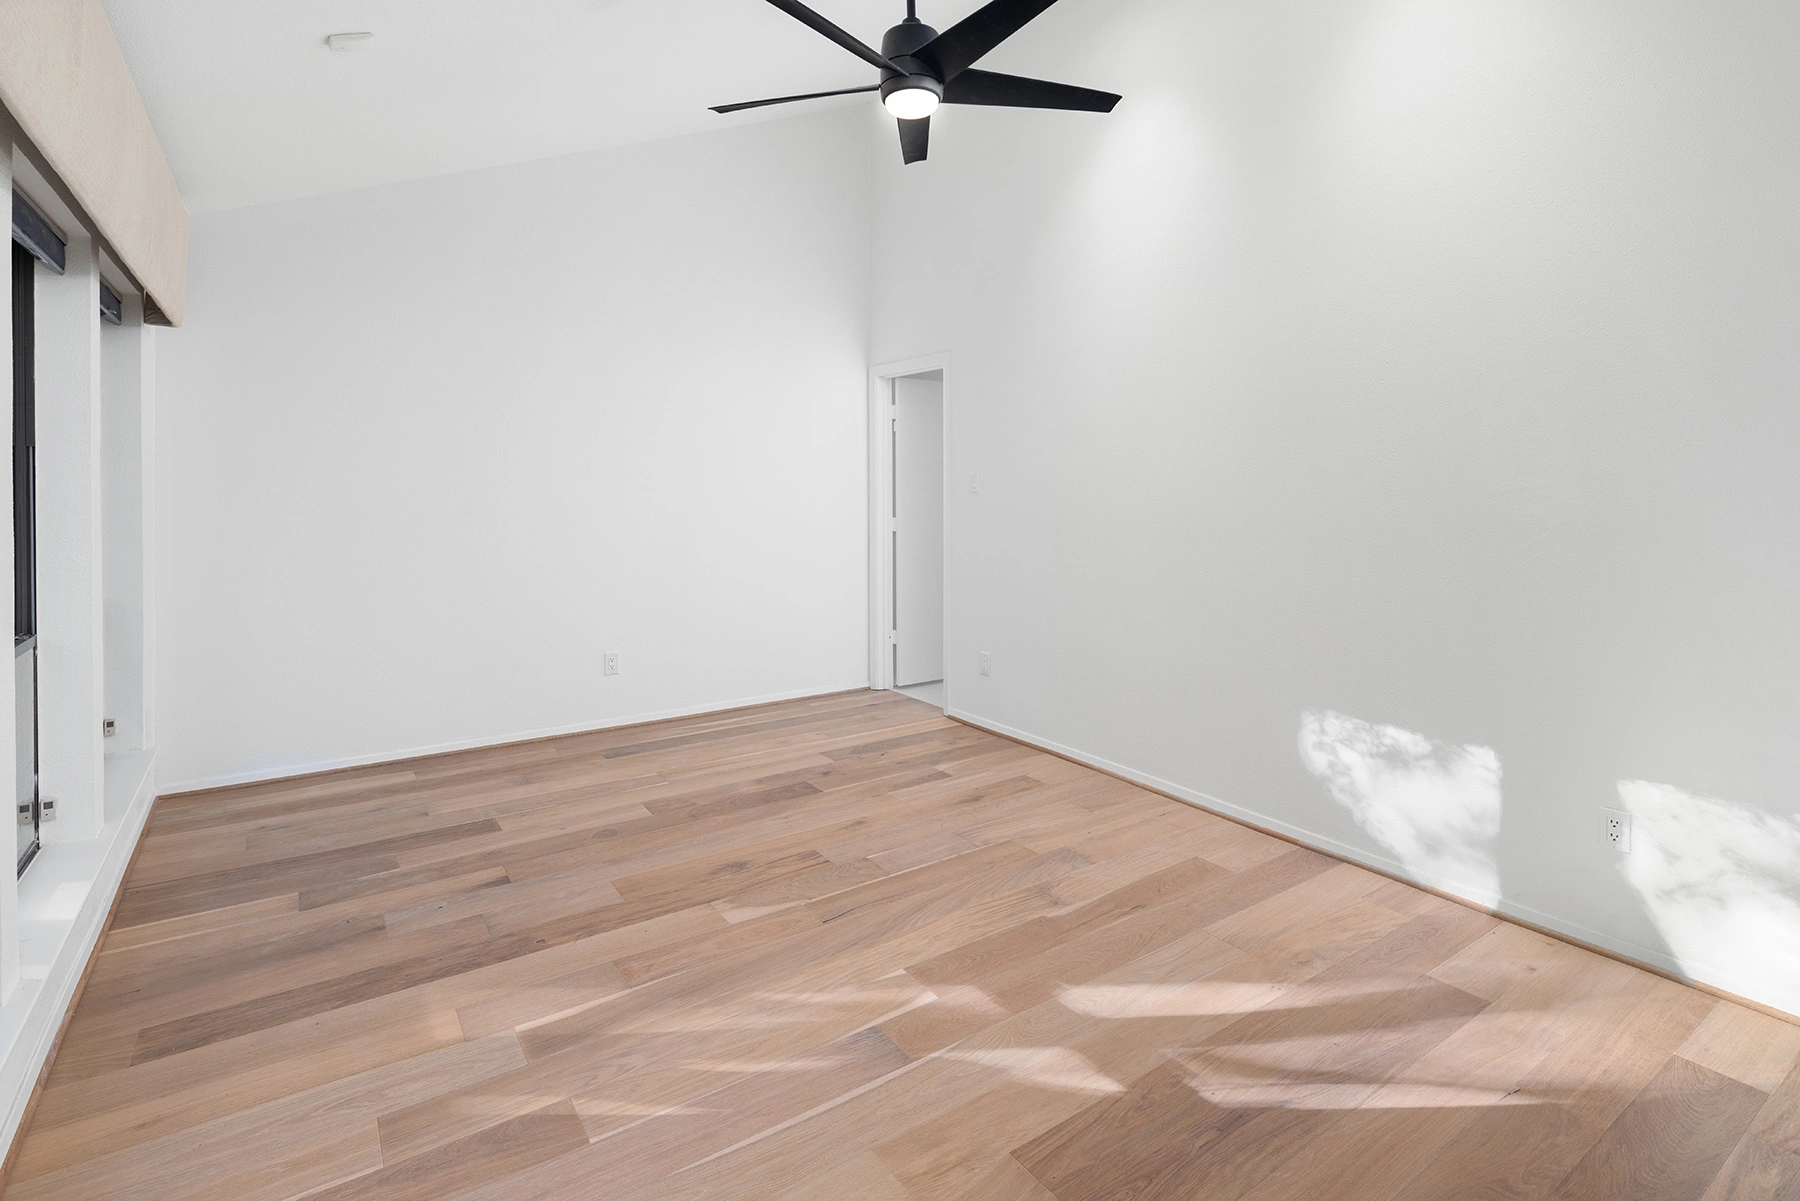
Before
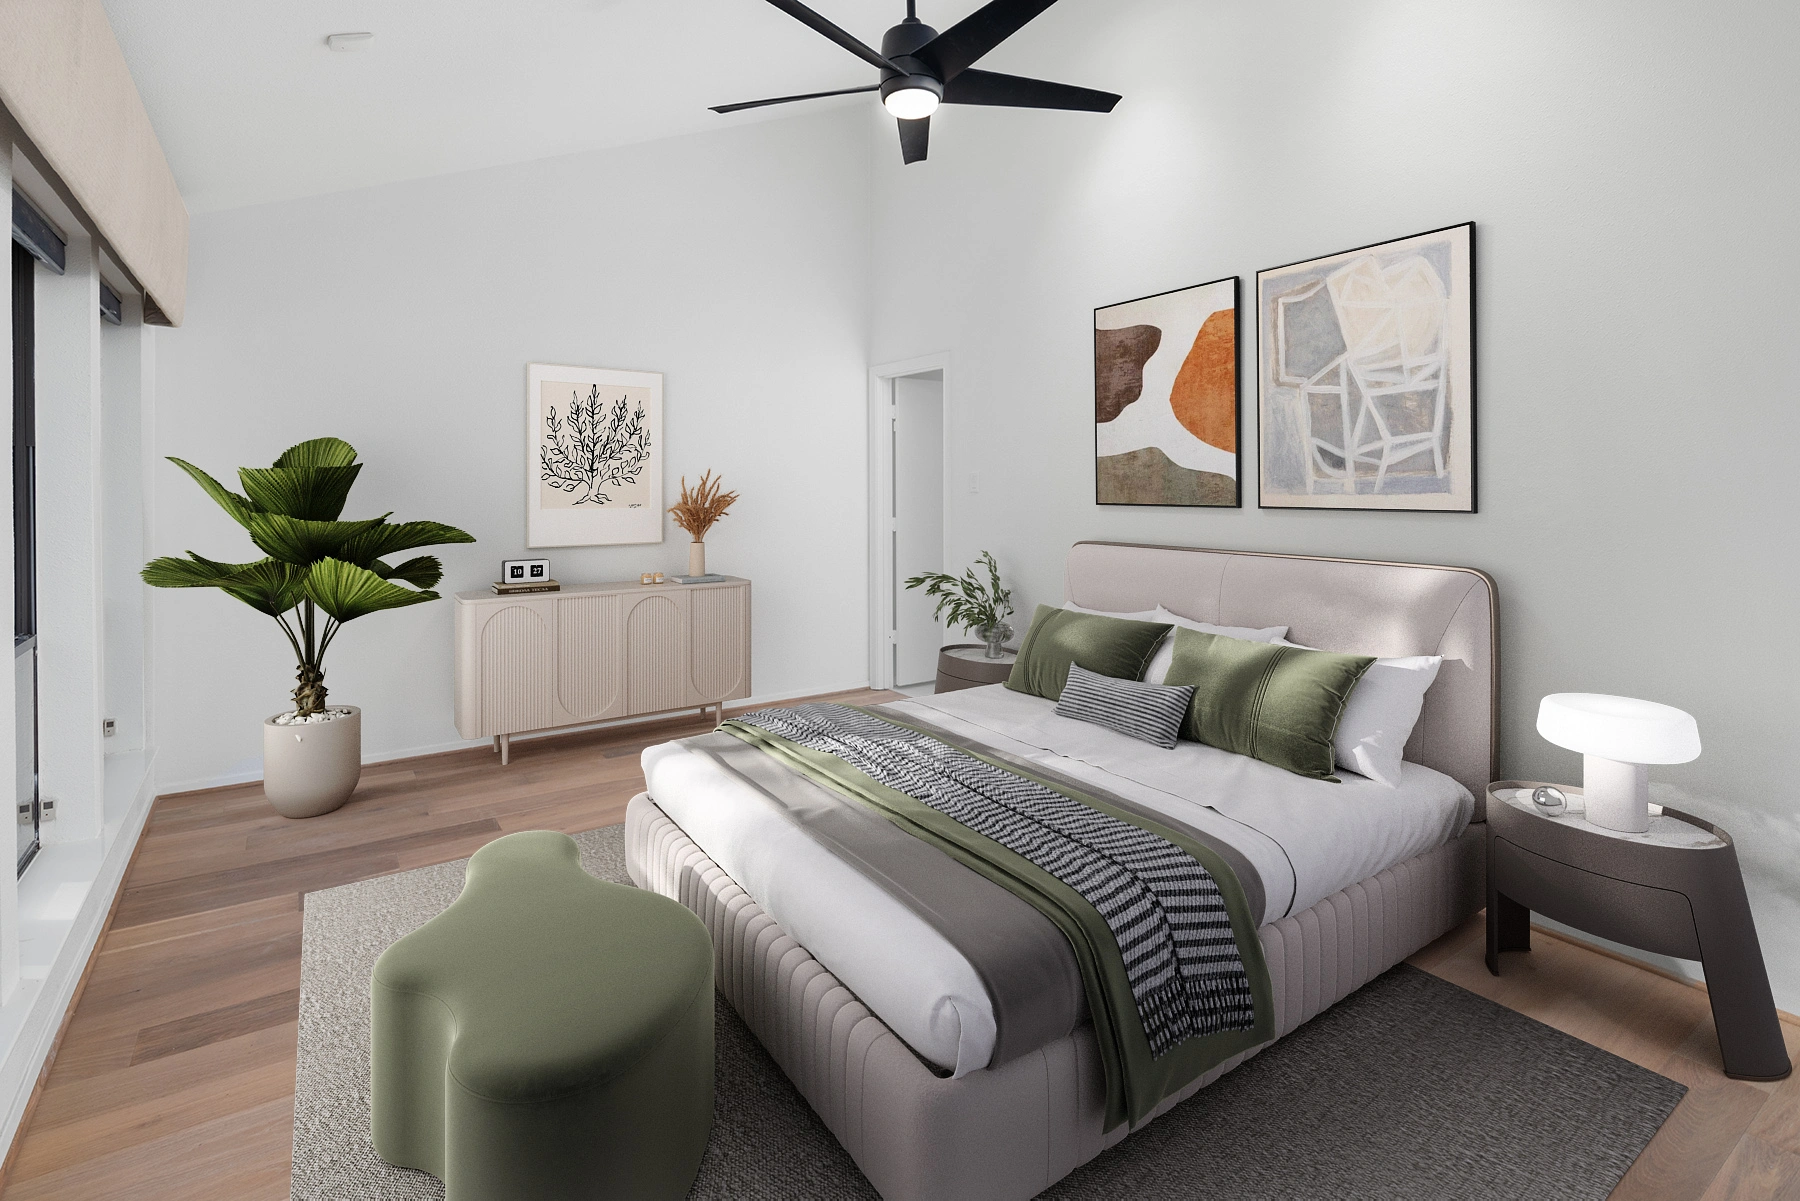
After